I have been intrigued by the idea of solid perfume for a while. The convenience, transportability, and ability to make it all-natural was really appealing to me! I could avoid the respiratory and skin allergens, and still smell nice.

Disclaimer: This post contains affiliate links. See my Disclosure Policy for more information.
My solid perfume recipe
For items that will last me a long time, and things that use essential oils, I like to make just enough, rather than a lifetime supply. These recipes are for a single lip balm tube, and for a small tin. Since I don’t wear perfume all the time, I expect that these will last me months each. And when I am running low, I can refill the same container. This recipe can be easily scaled up. Just use water to measure the volume of the container and multiply one of the recipes below to get the needed volume. I measured my small Altoids tin by pouring water in, 1 teaspoon at a time.
Ingredients
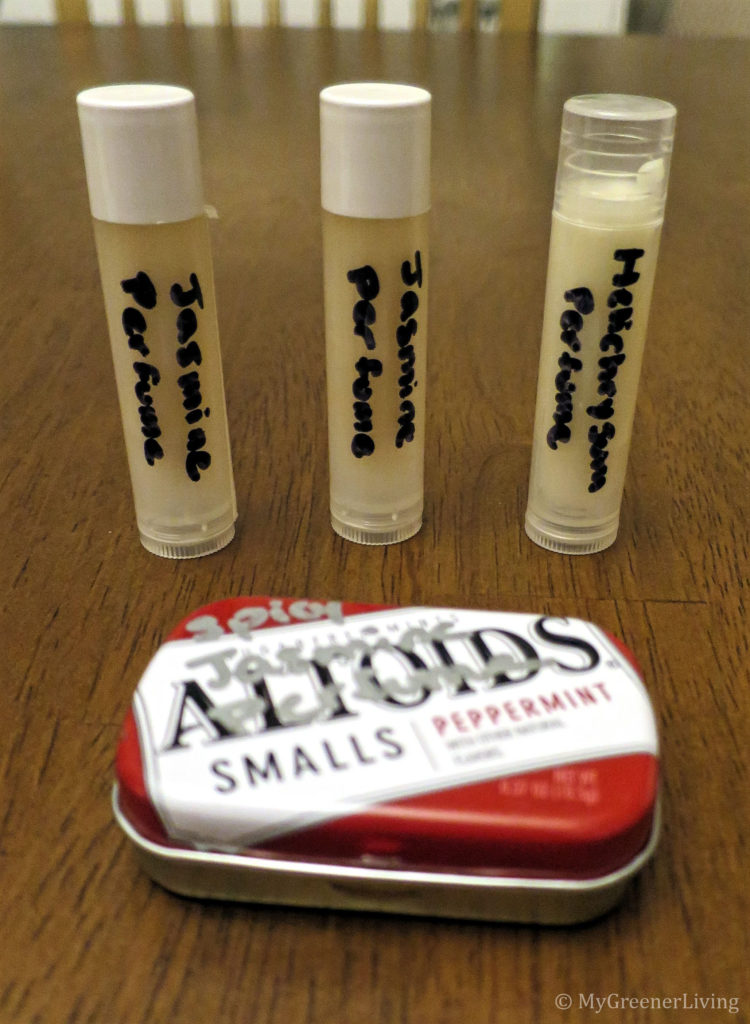
- Per 5.5mL (about 1 teaspoon) lip balm tube:
- 2.2 grams sweet almond oil (about 1/2 teaspoon)
- 2 grams filtered beeswax (about 1/2 heaping teaspoon beeswax pastilles; 1/2 teaspoon grated, packed beeswax)
- 10 drops essential oils
- Per mini Altoids tin (holds about 4 teaspoons):
- 8.8 grams sweet almond oil (about 2 teaspoons)
- 8 grams filtered beeswax (about 2 heaping teaspoon beeswax pastilles or 2 teaspoon grated, packed beeswax)
- 40 drops essential oils
Instructions
Note: this will set pretty fast, so once the oils/waxes come out of the microwave/off the double boiler, work quickly.

- Gather supplies: ingredients from above, small container for holding the solid perfume (I used lip balm tubes and a small Altoids tin), double boiler or small glass bowl (I used a glass bowl and microwave), another small glass bowl for mixing oils, measuring spoons and/or kitchen scale, and something to mix with (I like a toothpick for small batches and popsicle stick for large batches).
- If blending essential oils, measure them out into a small bowl. If using a single oil, this step can be skipped.
- Measure the beeswax and almond oil (or other non-fragrance oils and waxes) into a different glass bowl than the essential oils, or into the small bowl of the double boiler.
- Slowly heat the oils and stir occasionally. For my small batches, I microwave on 50% power for 30 seconds, then check every 10 seconds until the oils and waxes are melted.
- Stir base oil/wax to blend.
- Working quickly, add the essential oils to the base oil/wax and stir to blend. Pour into the prepared perfume container. If the mixture starts setting in the mixing container, it can be put back on the double boiler or in the microwave to re-melt. When heating after adding essential or fragrance oils, use as little time as necessary because heat will cause some of the essential oil to evaporate.
- Allow to set – 5-10 minutes depending on the size of the container – and use any time after the solid perfume as cooled.
- Clean up: Anything with wax can be tough to clean up. I heat the mixing bowl in the microwave for a few seconds, then immediately wipe out with a paper towel. After that, soap, hot water, and my kitchen scrub brush is enough to get the bowl clean.
Inspiration for a solid perfume
As you may know from some my previous posts, I like solid versions of normally liquid products. Why? There are a few reasons.
Convenience. Solid products travel well, whether it be in my purse, in my car, or on airplanes. I don’t have to worry about a liquid bottle of lotion exploding when I drop my purse, or liquid limits on airplane carry-ons.
Preservatives, or lack thereof. Solid products are typically made up of oils and waxes, which are naturally shelf stable. Liquid products contain water, and bacteria likes to grow in water, so preservatives are needed. Not all preservatives are “harmful chemicals,” but for my homemade recipes, they add a layer of complication for me to make sure the products I make are safe.
Yet another additional layer of complication is emulsifiers, which are needed to get the water- and oil-based parts of the solution to mix. I’ve done it, but so far not with enough success to share here. For me, it’s just not worth the effort. So, I love solid versions of products!
I also dislike traditional aerosol perfumes. These synthetic fragrances bother my allergies causing sneezing and itchy eyes and face, headaches, and topically they sometimes cause contact dermatitis when I apply to my skin. No way am I dealing with that every time I want to smell nice! And I am not the only one suffering in this way. Many people have allergies to fragrances, and some ingredients are also hormone disruptors which can cause all sorts of health issues over time. If you want to learn more, the Environmental Working Group put together a lengthy report on fragrances. As for these traditional synthetic fragrances, I say “No, thank you.” (This holds true for lotions, shampoos, and other products, not just perfume! If it has “fragrance” or “parfum” in the ingredients, I avoid it.)
Years ago, I was gifted this lovely little tin of Pacifica solid perfume. It smells lovely, and travels well. This perfume is even vegan, made with coconut wax and soy wax as a base. After seeing this handy little product, I decided that some day I would make my own. I am excited that I have finally been able to do that! I found this solid perfume on Amazon, though the ingredient list is a little different. But is is available for purchase for those who want to try this without DIY.

Perfume Base
The base for a solid perfume should be made of mild-scented products so it does not overpower the fragrance that is chosen for the solid perfume. Similar to my solid lotion, I wanted something that was a combination of solid at all perceivable temperatures where I would store this perfume (winter, summer; in the house, in a car), so I considered bees wax, cocoa butter, and soy wax. I wanted to use ingredients I already had on hand (I am always thinking frugal with my projects), so that eliminated soy wax. Cocoa butter has a pretty strong smell, which I find quite lovely, but not in a perfume. So I decided to use beeswax.
I also needed a liquid component, and considered coconut oil (liquid above 76 Fahrenheit), sweet almond oil, and jojoba oil. I was concerned that with coconut oil, this solid perfume might be too solid in the cold. I did not have much jojoba oil left, so I went with almond oil. However, I think any of these oil choices (and probably others that I did not consider) would work just fine.
Perfume Fragrance
One of the great things about making my own solid perfume is that I had complete control over the ingredients. I could make it all natural, and I could scent it any way I wanted! I am a huge fan of all natural and essential oils, I had a small bottle of a natural fragrance oil that I got at Nantucket Natural Oils about 10 years ago. I love the scent. Unlike aerosol fragrance perfumes, this oil does not bother my allergies (no sneezing or contact dermatitis) – maybe because it is natural? I love the fragrance but always forget to use it. In a solid form, I can keep it in my purse or can and apply it when I remember. So when I first decided to make a solid perfume, I of course chose to use this fragrance oil. I also made a lip balm tube of helichrysum essential oil, which has a pleasant floral, citrus scent which is believed to have stress-relieving effects. I like the (possible stress relieving) benefit as well as the scent.
Crunchy Betty does a fantastic job of describing blending oils and suggests a few blends. I highly recommend perusing her post to get inspiration for blending oils. I was happy with a couple single-oil fragrances, but in the future I may do some blending experimentation.
Cost
The cost to make solid perfume depends heavily on the essential oils chosen for the blend. I priced out orange, lavender, and helichrysum essential oils to give an idea across the price-range of oils I own. There are others more and less expensive, but using these to give a ballpark idea of cost, here’s the breakdown for 4 lip balm tubes or 1 small Altoids tin of perfume:
- Beeswax, $18.95 for 2 lb. 8 grams x (1lb/453.6gram) x ($18.95/2lb)=$0.167
- Sweet almond oil, $14.20 for 16 fluid ounces. (2 tsp) x (1 fl oz/6 tsp) x ($14.20/16 fl oz) = $0.296
- Orange essential oil (organic), $11.49 for 4 fl oz. 600 drops oil per ounce. 40 drops x (1 fl oz/600 drops) x ($11.49/4 fl oz)=$0.192
- Lavender Oil, $14.64 per fl oz. 600 drops oil per ounce. 40 drops x (1 fl oz/600 drops) x ($14.64/fl oz)=$0.976
- Helichrysum Oil, $12.50 for 10 mL (.33 oz). 600 drops oil per ounce. 40 drops x (.33 fl oz / 200 drops) x ($12.50/.33 fl oz) = $2.477
- lip balm tubes, $5.49 for 12. 4 each x ($5.49/12) = $1.83
- Small Altoids tins, $2.48 for 3. $2.48/3=$0.827 each (plus the mints!)
Total using all orange oil: $0.63 (fragrance only); $2.36 (4 lip balm tubes), or $1.48 (Altoids tin).
Total using all lavender oil: $1.41 (fragrance only); $3.35 (4 lip balm tubes), or $2.35 (Altoids tin).
Total using all helichrysum oil: $2.91 (fragrance only); $4.85 (4 lip balm tubes), or $3.85 (Altoids tin).
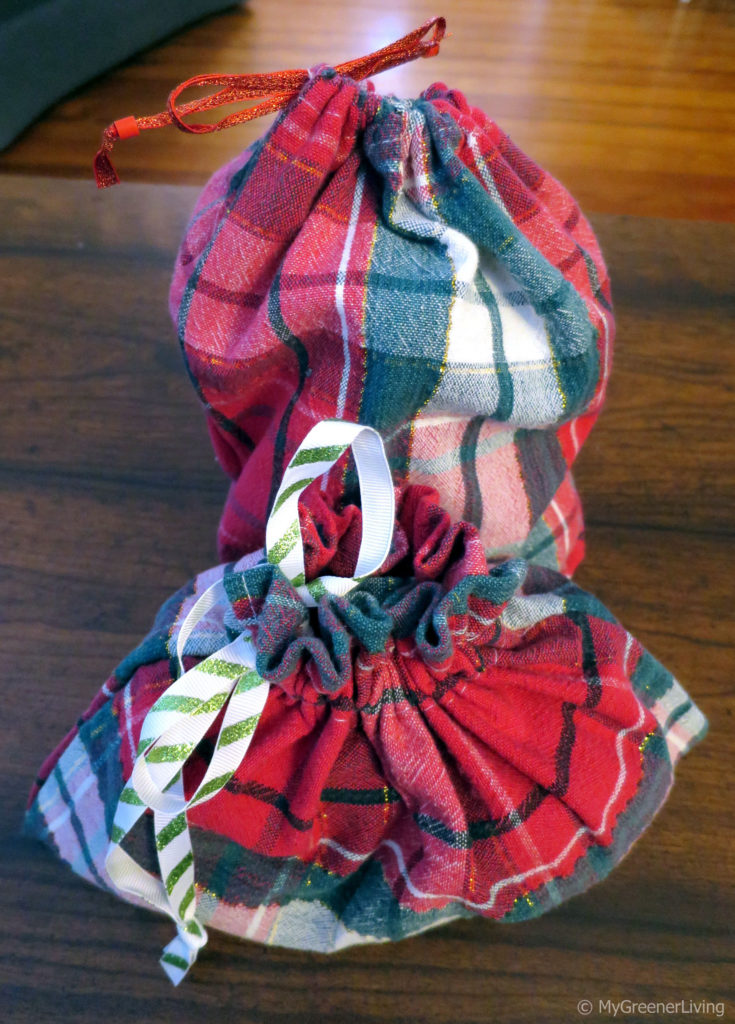
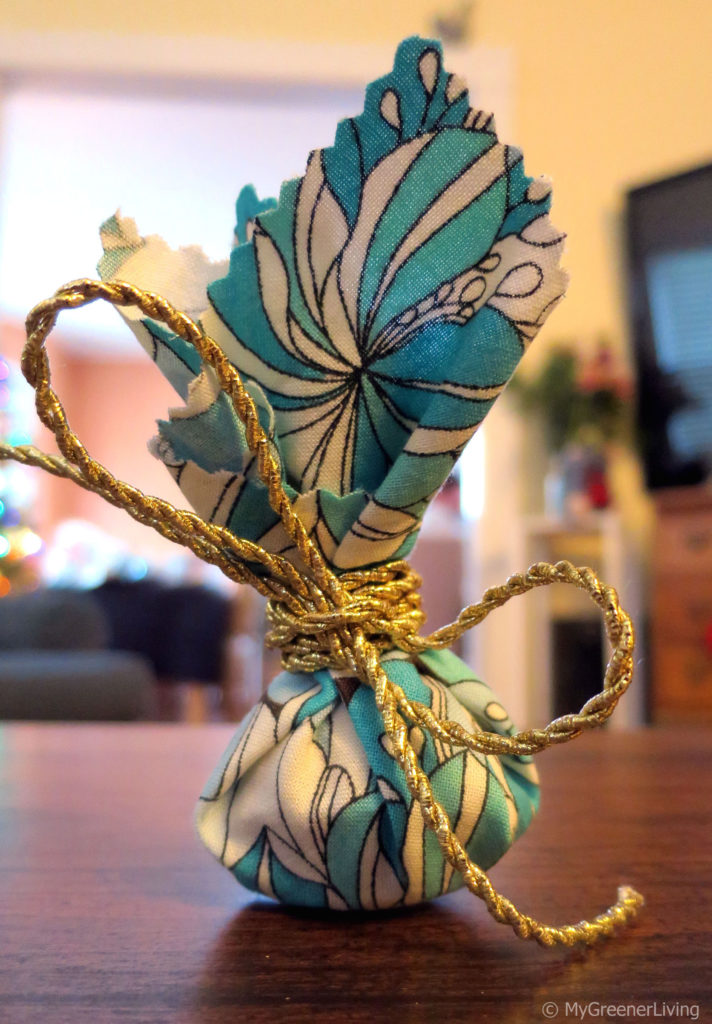
Even using all new lip balm tubes – the most expensive container I used – the cost using the expensive oil is under $5 for a 4 teaspoon (16 gram) container of solid perfume. I like to reuse old containers to prevent waste and save money, which will drive down the total cost for the project. Compared to the solid perfume that I was gifted years ago, this homemade version is less than 1/3 the cost. I love this frugal, natural recipe, which is also a fun gift idea!
Do you use natural oil perfumes? Share your favorite scents or blends in the comments!